There is a certain procedure to follow in order to add SHX fonts to AutoCAD so that they can be used in your drawings. In AutoCAD, text and annotations frequently employ SHX typefaces.

How to add the shapes SHX Font in AutoCAD
The following steps will add SHX typefaces to AutoCAD:
- Find the SHX font files:
Get the SHX font files that you want to add. The common extension for these is .SHX.
- Copy SHX Font Files to the Fonts Folder:
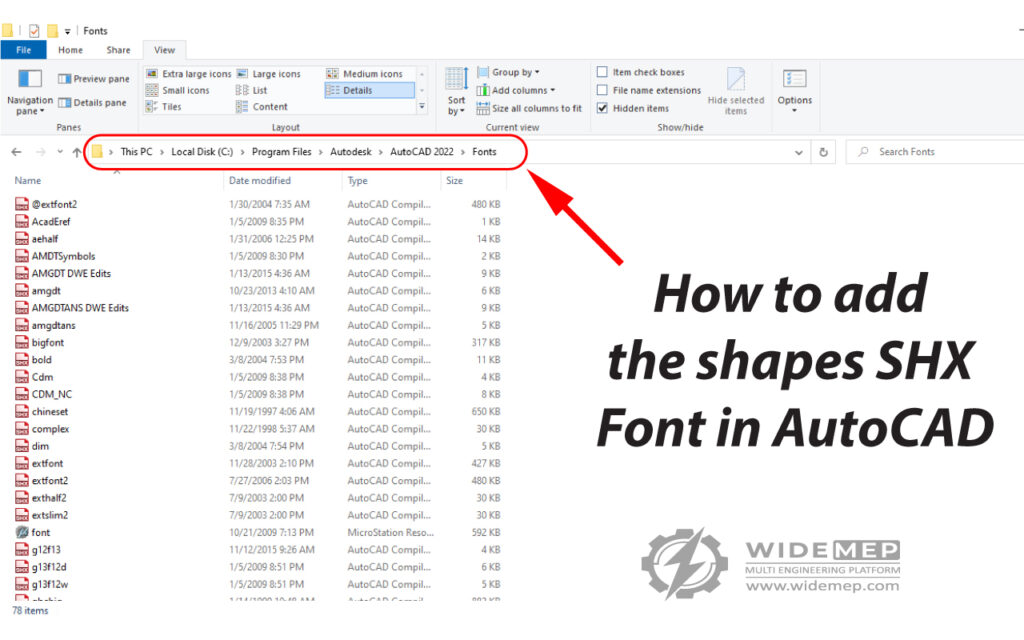
To the AutoCAD Fonts folder, copy the SHX font files. Ordinarily, the default Fonts folder can be found in the AutoCAD installation directory (for example, C:\Program Files\Autodesk\AutoCAD [version]\Fonts).

- Open the SHX Font:
Use the “STYLE” command in AutoCAD once it is open. The SHX font you want to use can be browsed and chosen in the Text Style dialog box. The SHX typeface can be loaded by clicking the “Load…” button.
- Set text style as follows:
Using the chosen SHX font after it has been loaded, you can create or alter text styles.
- Enter “STYLE” in the command line’s text box.
- Select the font you loaded from the “Font name” dropdown in the Text Style dialog.
- Make necessary adjustments to the height, width factor, and oblique angle settings.
- Utilize the Text Style:
Use the text style for your text, annotations, and other text-based features.
- Either pick the text or type something fresh.
- In the Properties panel, select the desired text style from the Text Style dropdown menu.
The text in your AutoCAD drawings ought to be accessible and using your SHX font at this point.
However, in general, this process ought to work for the majority of AutoCAD versions. However, keep in mind that some versions of AutoCAD or tiny modifications in the configuration may somewhat vary the processes.
 widemep.com